Portfolio tutorial
I taught myself how to make portfolios. I needed several to protect art and magazines and they are pretty expensive to buy. You probably saw some on my Instagram account?


The result is very enjoyable. Most of the stationery you’ll find in shops is crappy, and doing a high-end object all by yourself is very satisfying.
It’s not very difficult, the only difficult part is to be slow and patient, to measure twice and to think ahead. It’s actually a fantastic activity for pre-teens, as long as you supervise closely.
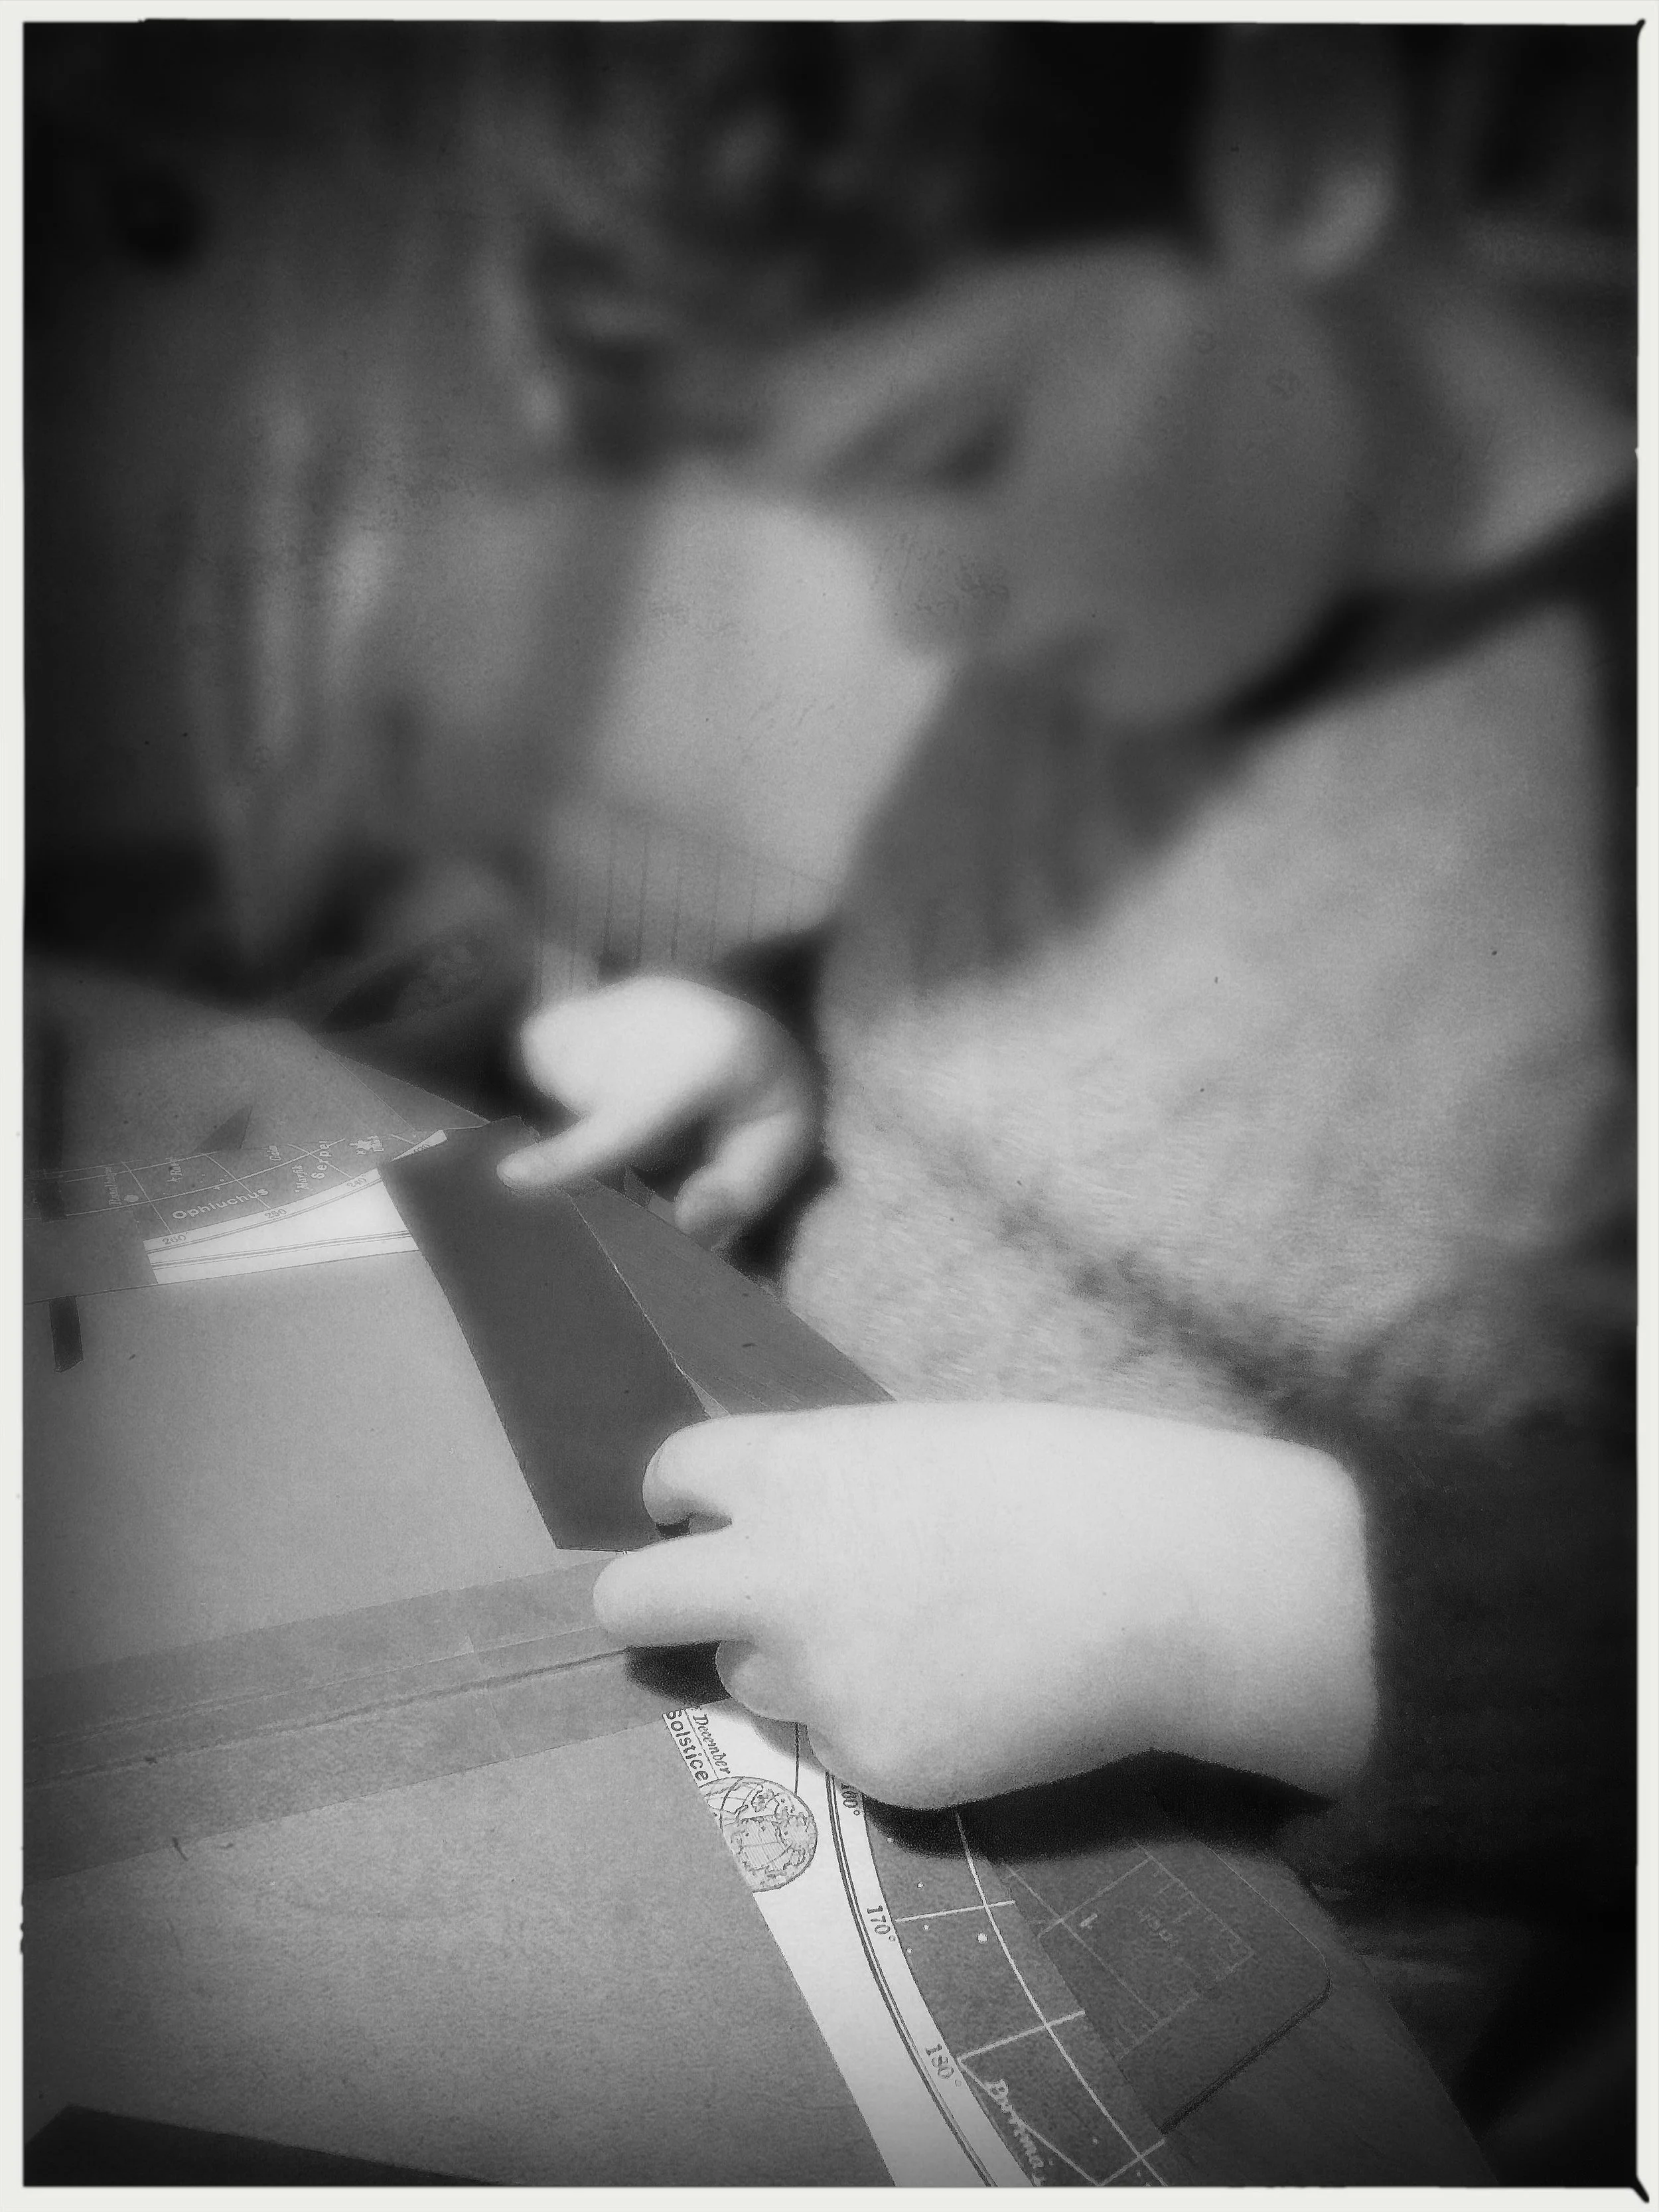
I taught my son and his best friend, 10 and 9 years old at that time, how to make them. Mind me, they are very good boys, able to concentrate on a task, and understood the patience necessary for it. "Just take it slow, it will go faster," I said.
And they listened.
So grab some pretty papers, construction paper, chipboard, and pretty ribbons, and let's try.
This is the basic constriction structure of a portfolio. It looks complicated but it's just a few measurements, really. Take it slow and it will be easy, it's pretty much 3 pieces of chipboard glued on pieces of color paper. Nothing you can't handle, right?
So, start by cut and glue 3 pieces of chipboard on some colorful papers, like this:
You'll also need some very good glue. I prefer big glue sticks because it's fast and they aren't so wet that the paper will wobble. Just make sure to cover completely each surface, especially the borders, and you're good to go. The better the paper you choose, the easier it will be. I made one of my portfolios with some real washi chiyogami paper and it was by far the easier to use.
I also prefer matte paper because the seizing is more forgiving. I had some good results with unexpensive washi origami paper from Daiso, and some very enjoyable ones with Flow books for Paper Lovers. I also buy unexpensive, but thick and good quality papers from Yozocraft.
Here's how to proceed. Be slow and patient, and it will be easy!
If you still feel a bit uneasy, this video, which explains a very similar process (how to make a book cover), might help you a lot. It's my inspiration for this tutorial. I simplified the process, but it will give you a good idea on how to get a clean, beautiful result. It's in Japanese but it's easy to follow and a good example of the quiet, enjoyable moment you'll experience doing your own stationery:
You'll notice in the video that the artist uses a bamboo tube as a bone folder. I was very eager to try but couldn't find one, so my husband came to the rescue and gave me one of his guitar slides. It's easier to use than a bone folder, it's one of my most precious possessions now.
